.
This is Part 2 in a series on the 2008 HUGe swap.
Click here for Part 1.
Click here for Part 3.
Related post: 08Jan2009 post - 21 Photos - Elann HUGe 2008 Swap, Group 1 box
 Bangles #1, #2, #3, and #4
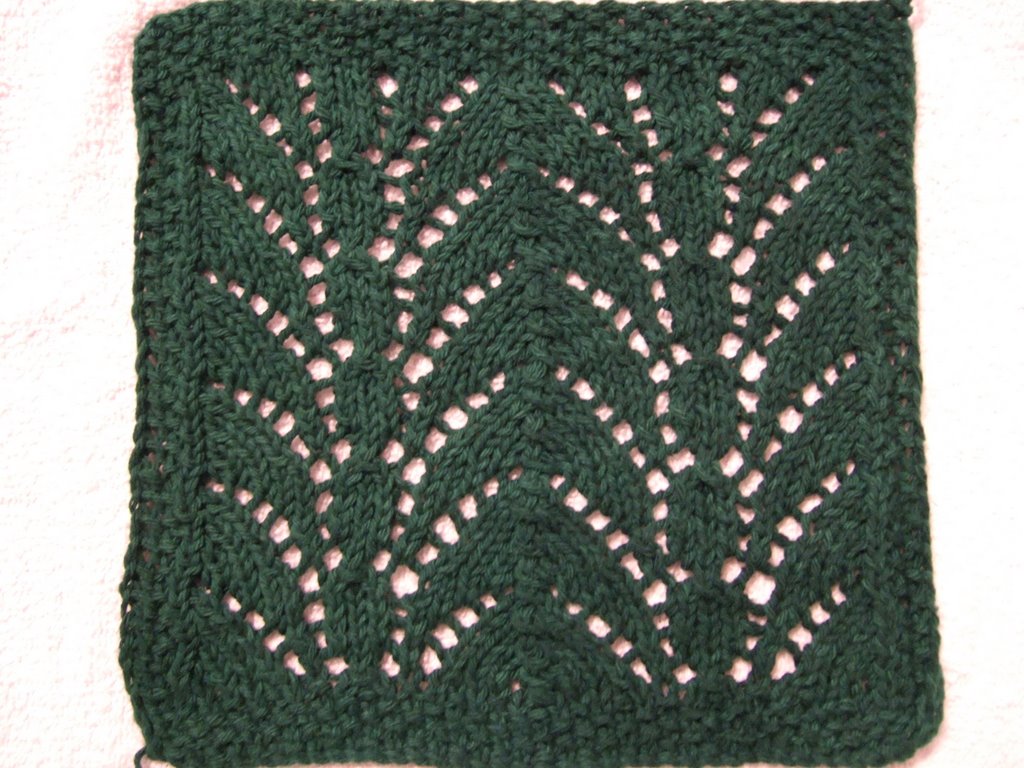
Bangle #4:Bangle #4
I decided to use the same pattern as Bangle #3 for Bangle #4. The only difference is the yarn and color. I used
Elann Highland Wool in Ruby red color. Despite being the same pattern, I think Bangle #3 in the
Elann Luxury Merino Superwash came out better. I think the stitch pattern stands out better in the blue color.
Well, I thought I'd insert a photo of a the ball of yarn here. Unfortunately I can't seem to find my photo. Boo.
 Red bangle
Bangle #4 is made with a red bangle, like the one above.
My personal notes on how I made this bangle:
Elann
Highland Wool, Ruby
4.0 mm (US6)
Red bangle.
Circumference = ~11.25 inches (29 cm)
Width (all around) = 3 inches (7.5 cm)
Cast on 52 stitches, join in round.
Round 1 & 2: Knit
Round 3 & 4: * K2, P2 *
Repeat rounds 1 to 4 for 22 rounds have been completed.
-----------<>----------
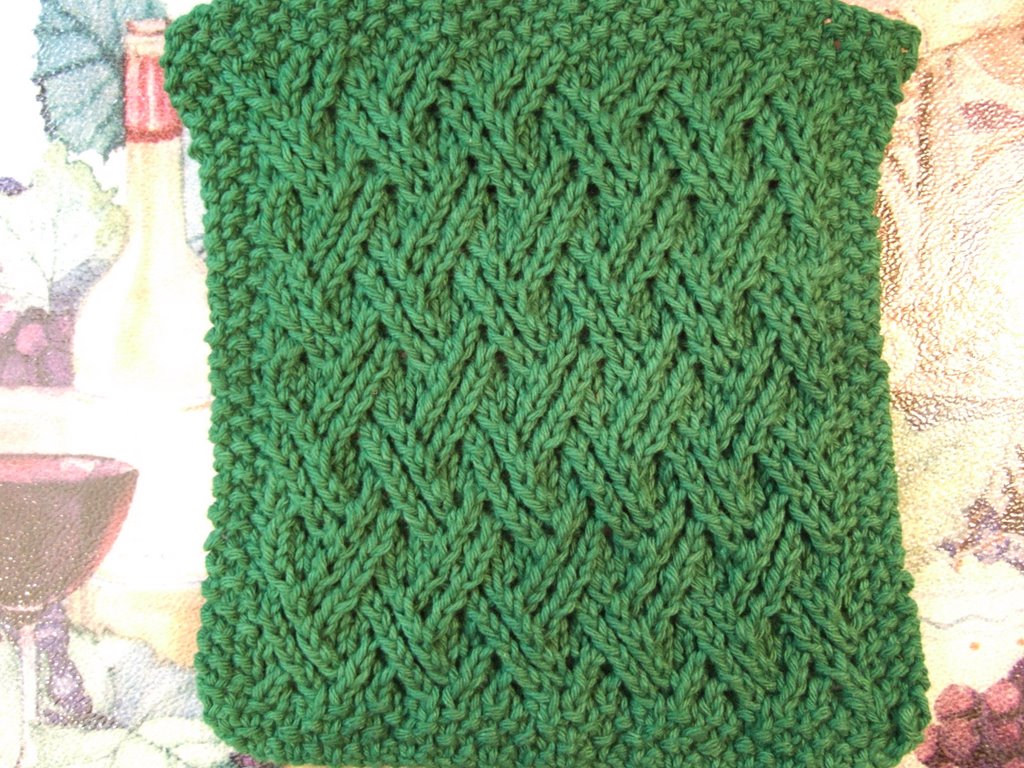
Bangle #5:Bangle #5
I wasn't sure I wanted to try another cable stitch after making Bangle #2 (the purple one) because I wasn't 100% happy with how that one turned out. I think it had something to do with the "non-standard" cable pattern and how the cable pattern stretched out when it was attached to the bangle. Then in June, I showed Theresa the first four bangles and she told me she preferred the cable and seed stitch pattern more than the other one. So I decided to give cables another try, this time choosing a more "standard" cable. I am more pleased with the results this time.
Red bangle
I knit this one using Cleckheaton Country 8-Ply DK weight superwash wool yarn in a brown color. It is the same yarn I used to make my
this scarf. I used 4.0 mm (US6) needles. I don't know what I was thinking but I started this one in the round, knit a few rounds, and then realized that what I really needed to do was knit a skinny strip. So I had to start this one over again. After I knit my skinny strip, I attached it to a red bangle like the one above.
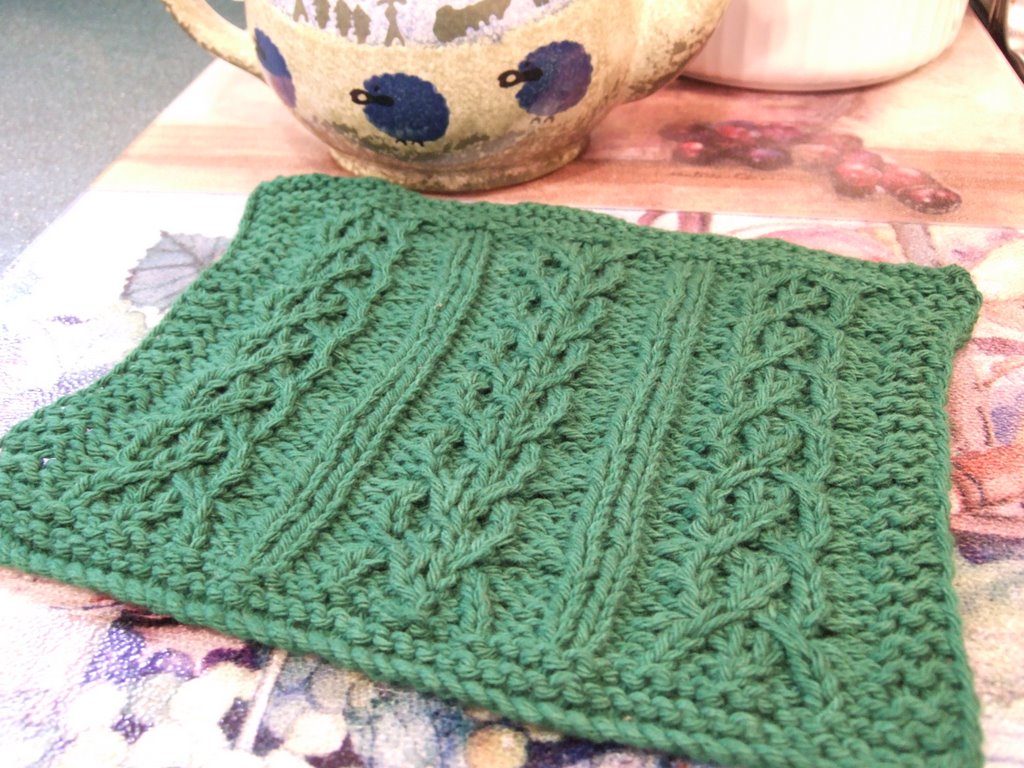
Bangle #5
Here's what the bangle looks like on my wrist. I like this one so much more than the purple one I made that I might even make another.
My personal notes on how I made this bangle:
Cleckheaton Country 8-Ply, brown
4.0 mm (US6)
Red bangle.
Circumference = ~11.25 inches (29 cm)
Width (all around) = 3 inches (7.5 cm)
Cast on 16 stitches.
Row 1, 3, 7, 9: P4, K8, P4
Row 2, 4, 6, 8, 10: K4, P8, K4
Row 5: P4, Cable Crossing, P4
Repeat rows 1 to 10.
Cable Crossing: Slip 3 stitches to Cable Needle and hold in front. Knit 3 stitches. Knit 3 stitches from Cable Needle.
To get the cables to cross in the opposite direction, just hold the cable needle in the back.
----------<>----------
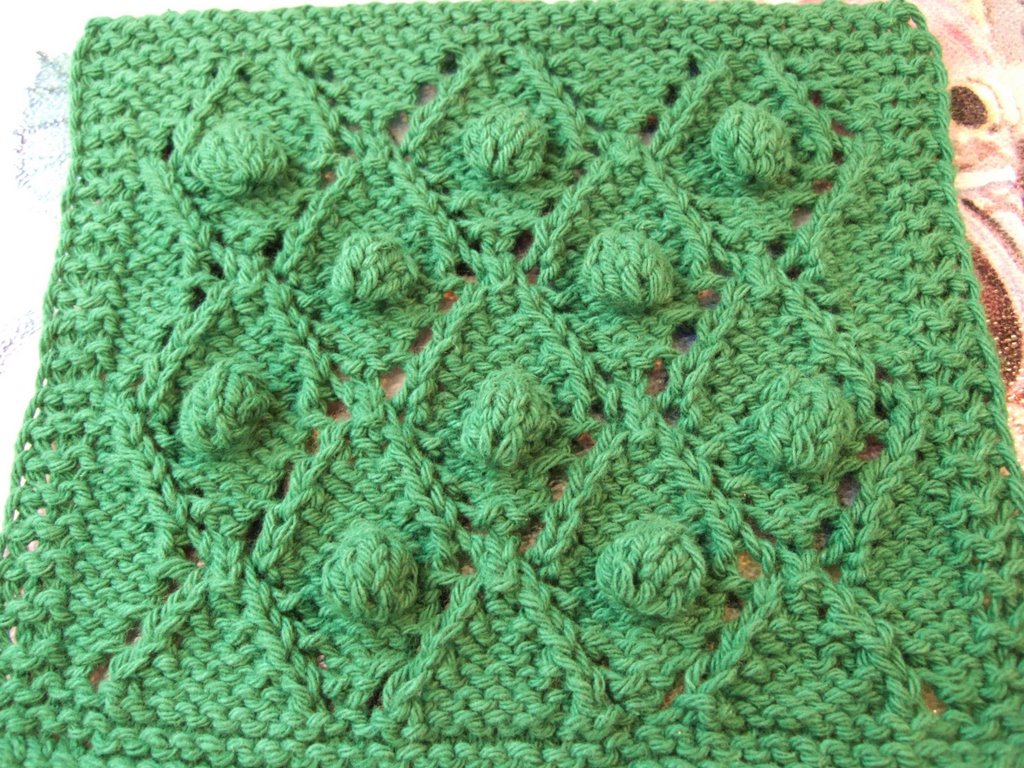
Bangle #6Bangle #6
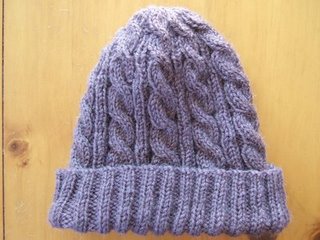
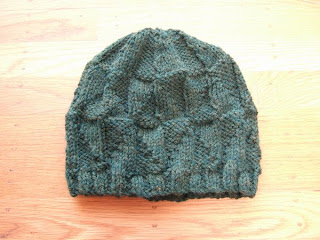
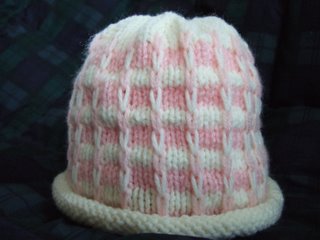
I decided to try another cable pattern for my next bangle, but something different than the basic cable I used in bangle #5. It took me a while to knit this one due to the thin sock weight yarn and itty bitty 2.75 mm (US2) needles. I think the color is off in the photo above because I took that photo at night with bad nighttime lighting. The yarn is
Elann Sock It To Me, in latte color, which I picked up July specifically for this project (thanks Theresa for the suggestion!). Of course other stuff fell into my shopping cart, I mean, who buys just one ball of sock yarn??? I picked up some more of my favorite yarn,
Elann Luxury Merino Superwash DK. For the cable pattern, I chose a cable pattern that was simply called "pattern 120" from NKSL pg 73. I think it turned out ok on the bangle. I like the cable pattern more than the one I used for the purple bangle. If the bangle above looks vaguely familiar, it is because
you had seen it back in July. :-)
I was originally going to use a bangle with a silver/mirror finish, however decide not to when I didn't like how the silver showed through the tan colored knitting. So I used another one of these charcoal colored bangles instead. At this point I wasn't sure what I'd do with the silver bangle, maybe find a lacy pattern where the silver can intentionally show through and create a (hopefully) neat effect.
My personal notes on how I made this bangle:
Elann Sock It To Me, latte color 42837
2.75 mm (US2)
Charcoal bangle.
Circumference = ~11.25 inches (29 cm)
Width (all around) = 3 inches (7.5 cm)
Cast on 26 stitches.
Row 1, 5: P7, K2, P2, K4, P2, K2, P7
Row 2, 4, 6, 20: K7, P2, K2, P4, K2, P2, K7
Row 3: P7, K2, P2, CB4, P2, K2, P7
Row 7: P7, FC, CB4, BC, P7
Row 8, 18: K9, P8, K9
Row 9: P9, BC, FC, P9
Row 10, 16: K9, P2, K4, P2, K2
Row 11: P7, BC, P4, FC, P7
Row 12, 14: K7, P2, K8, P2, K7
Row 13: P7, K2, P8, K2, P7
Row 15: P7, FC, P4, BC, P7
Row 17: P9, CF4, CB4, P9
Row 19: P7, BC, CB4, FC, P7
Repeat rows 1 to 20.
CB4: slip 2 onto cn hold back, k2, k2 from cn
CF4: slip 2 onto cn hold front, k2, k2 from cn
BC: slip 2 onto cn hold back, k2, p2 from cn
FC: slip 2 onto cn hold front, p2, k2 from cn
To be continued...
Click here for Part 3.
Copyright © Smariek Knits 2005-2009. All full copyright rights are reserved by Smariek Knits..


of Cable Scarves")